It’s that time of year where most RVers really don’t want to put the camper away. That’s when DIY RV skirting for winter becomes so critical. For those of you lucky enough to camp all year round (or who have to camp all year round because of your circumstances), staying warm is probably on your mind.
If you’re not ready to get your RV ready for winter storage, RV skirting for winter is necessary to stay warm as the temperature drops. Here are the most popular choices for skirting your RV this winter.
What is RV Skirting?
If you’re a new RVer, you might be silently wondering to yourself, “what on earth is DIY RV skirting for winter, anyway?” Well, to put it simply, a skirt is a material that goes around the bottom portion of your RV during cold weather. It helps stop airflow beneath your rig, which allows you to keep the space underneath warmer and keep hot air from escaping.
Having a skirt for your RV can help prevent your plumbing from freezing (when paired with a heat source) and leading to costly repairs. It also keeps your RV warmer so you can enjoy toasty nights instead of shivering until the morning sun rises. There are many options for DIY RV skirting for winter as well as some professional options.
Benefits of DIY RV Skirting for Winter
If you want to extend your camping season but don’t want to freeze while doing it, winter RV skirting is the way to go. By keeping warmth in, you also can save money on heating costs. Propane prices are rising and are expected to increase 54% over last year.
Considering how poorly insulated some RVs are, this price increase could really sting. DIY RV skirting for winter is a cheap solution that can lead to serious savings by helping you lower your propane usage.
Another benefit of using RV skirting for winter is to keep your pipes and tanks from freezing. When my husband, Joel, and I first started RVing (i.e. were total newbies!), we had a night in Indiana where the temperature dropped to just 1 degree. There was frost on our inside steps.
We didn’t have an RV skirt for winter, a four-season package, or an enclosed underbelly. Knowing what we know now, we are probably super lucky we didn’t do some serious damage to our rig. We have since learned the wisdom of having an RV skirt for winter and highly recommend everyone else does the same! Hey, we’ve all got to start somewhere right?
Types of RV Skirting (Which Ones Are Best and What to Avoid)
There are many materials you can use to skirt your RV. So how is an RVer to choose? Well, I’ve broken down the pros and cons of the most popular options.
DIY RV Skirting for Winter Options
You have a few options when it comes to DIY RV skirting for winter. Most of these choices are really cost-effective so if you want to save money, DIY is the way to go.
Simple Steps to Making an RV Skirt From a Recycled Vinyl Billboard
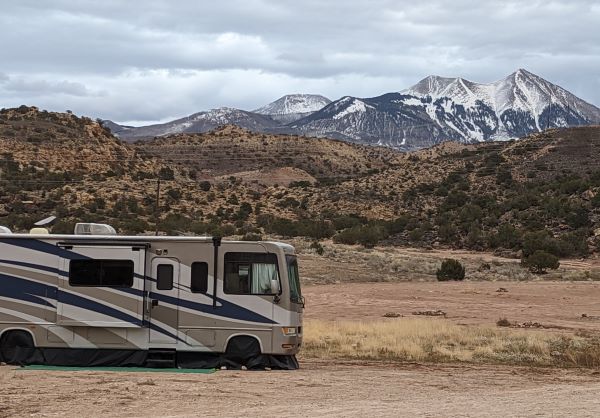
Have you ever wanted to keep your RV warm in the winter but didn’t want to spend a lot of money on an expensive RV skirt? My husband, Joel, and I had the same problem. We ended up finding an effective yet creative solution: making DIY RV skirting using a recycled vinyl billboard! It was cost-effective, too — we made the skirt with only a few materials, and it ended up costing us less than $75 in 2020.
Some people worry this type of DIY RV skirting for winter won’t provide enough warmth. However, the main purpose of a skirt is to trap the air under your RV so you can heat it up. Adding a heat lamp does the trick nicely. The result of our effort was a sturdy and long-lasting skirt that did an excellent job of trapping heat and keeping our RV warm. When paired with a heated RV water hose, we have been able to camp even in freezing temperatures without any damage to our waterlines.
I’ll be providing you with step-by-step instructions on how to make your own RV skirt using a recycled vinyl billboard. So if you’re looking for an inexpensive way to keep your RV warm during the winter, then read on! We guarantee that by the end of this article, you’ll have all the knowledge and tools you need to make a unique skirt for your RV out of recycled materials. Let’s get started!
Step 1: Make a Plan for your RV Skirt
The first step to making an RV skirt from a vinyl billboard is to make a plan. You’ll need to measure your RV’s length, width, and height from the ground to the bottom edge of your RV. When measuring the height, factor an additional 1 foot so you can secure the bottom of the skirt during use. For the length and width of pieces add 1 foot to each side so you can overlap the pieces and ensure no wind gets through.
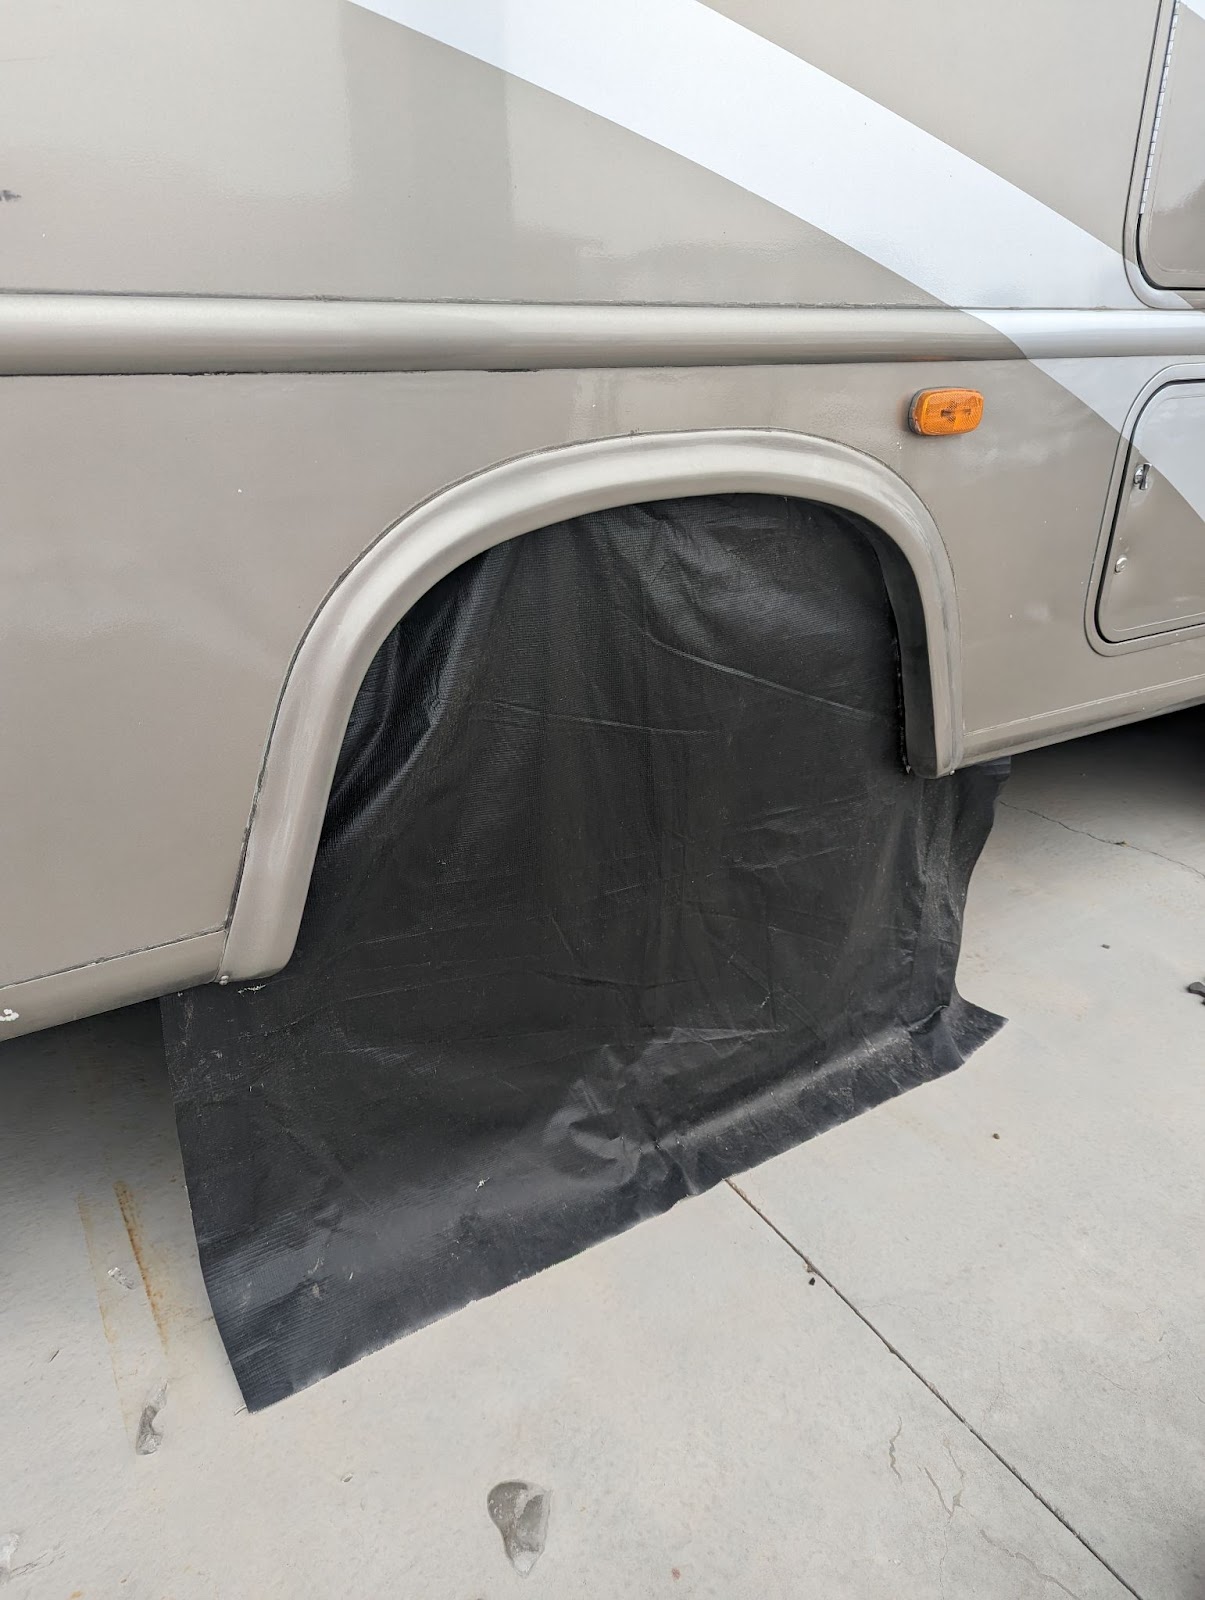
When you are making measurements, you can be a little creative too. We made a separate piece for each of our tires. That way we can use them all year long as tire covers to block harmful UV light from damaging our RV’s tires.
Step 2: Determine How Big of a Billboard You Need
To find out how big of a billboard we needed for our skirt, Joel actually sketched everything in CAD since he is an engineer. Not an engineer? Don’t worry! There is an easy way to do this.
Using grid paper you can draw out rectangles based on your measurements. Make each box on the grid paper equal to 1 foot. So if your RV is 15 feet long and 2 feet from the ground to the bottom edge you would draw a length of 17 boxes and a height of 3 boxes on your grid paper (remember you need to add some additional material so you can overlap and secure the skirt). Once you have drawn your rectangle, cut it out and set it aside. Repeat this step for each portion of your RV (sides, back, front, and tire covers if desired).
Once you have all the cut rectangles set them on an uncut piece of grid paper. Time to use your Tetris skills. Arrange the rectangles on the paper to fit together in such a way that you can get the smallest billboard possible to give you enough material for your entire plan.
Add Up Your Measurments to Get the Final Size Needed
Count how many squares you have for the length and width of the entire sheet of vinyl. This will give you approximately how much material you need. You may not be able to get the exact size when you order your billboard but you can minimize waste since buying a larger billboard is more expensive.
Count how many squares you have for the length and width of the entire sheet of vinyl and this will give you approximately how much material you need. You may not be able to get the exact size when you order your billboard but you can minimize waste since buying a larger billboard is more expensive.
Count how many squares are needed for the length and width of the entire sheet of vinyl and this will give you approximately how much material you need. You may not be able to get the exact size when you order your billboard but you can minimize waste since buying a larger billboard is more expensive.
Step 3: Order Materials for Your RV Skirt
The third step is to purchase the supplies you’ll need for making your RV skirt. You’ll need a billboard, grommet tool, grommets, sticker hooks, rubbing alcohol, a scrubbing brush, car washing soap, a chalk line, sharp scissors, a tape measure, paper towels, a silver sharpie, and some heavy-duty velcro.
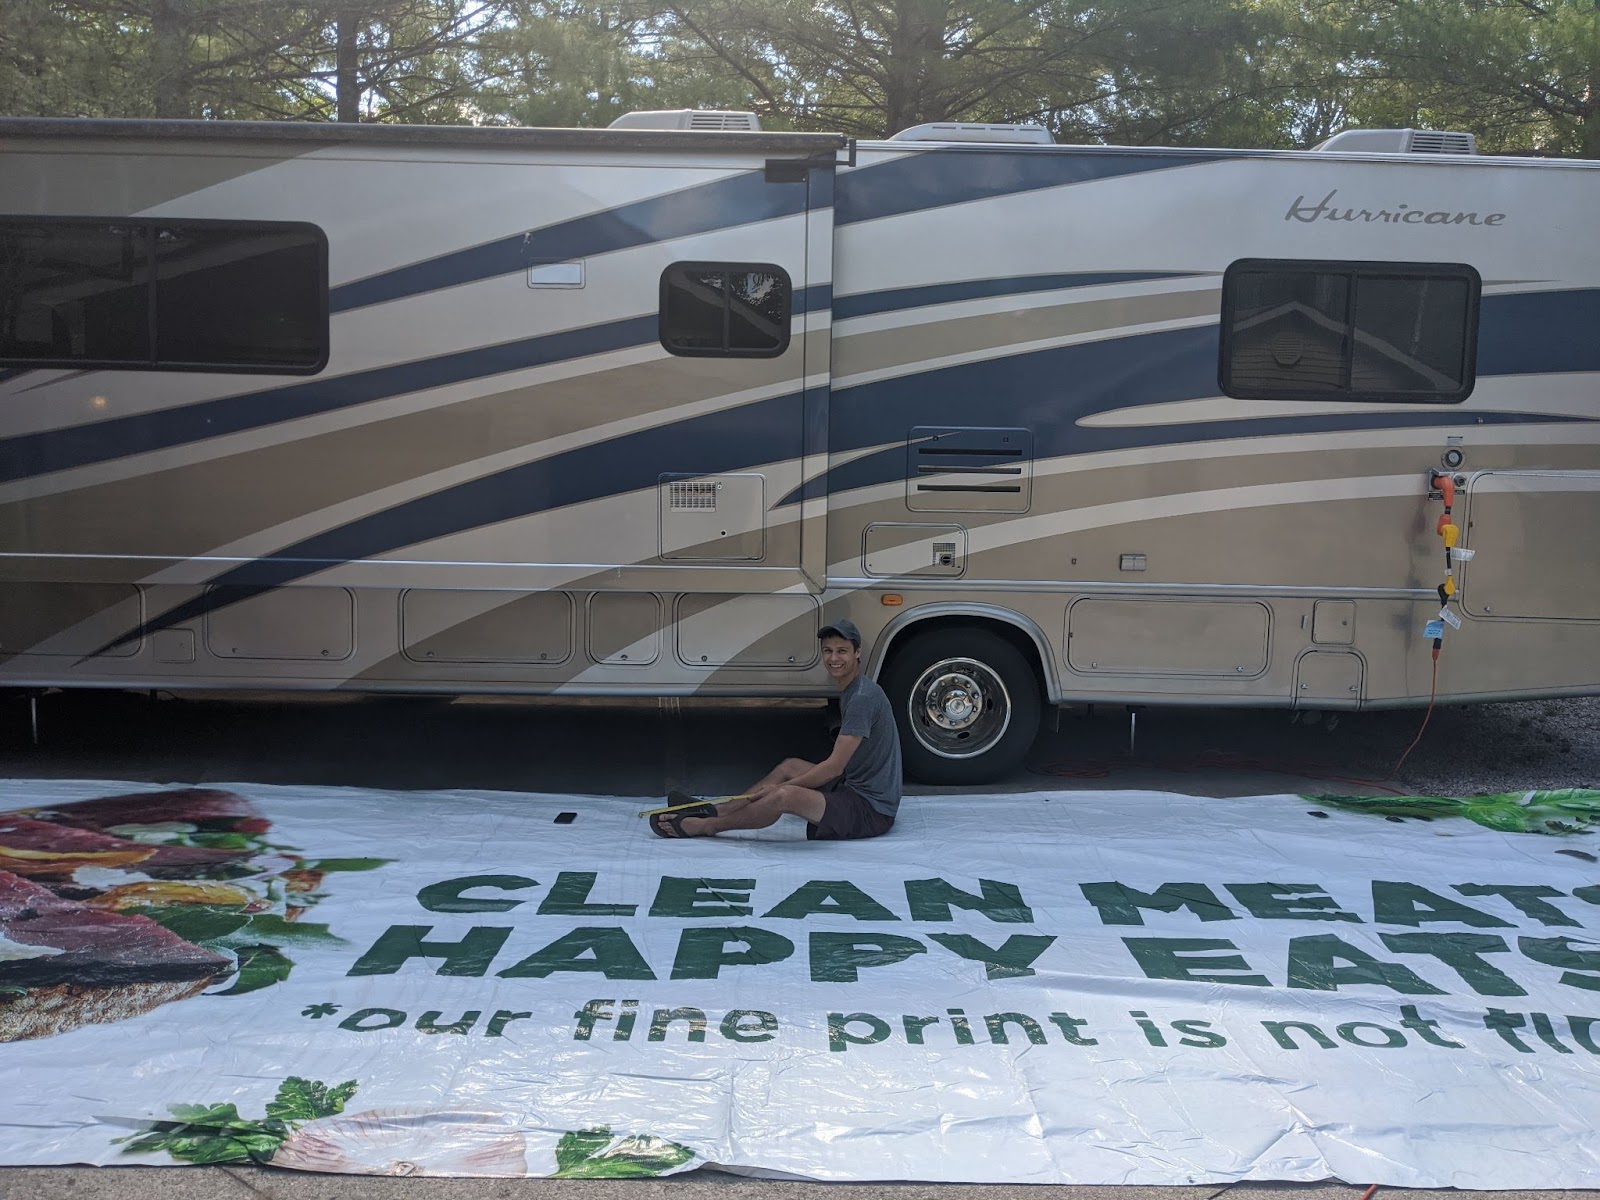
Joel and I ordered our recycled billboard from Billboard Tarps. We got some sticky hooks (pictured below) from Amazon but anything similar should do. Everything else you should be able to order online or find at a local hardware store.
Step 4: Cut the RV Skirt Pieces
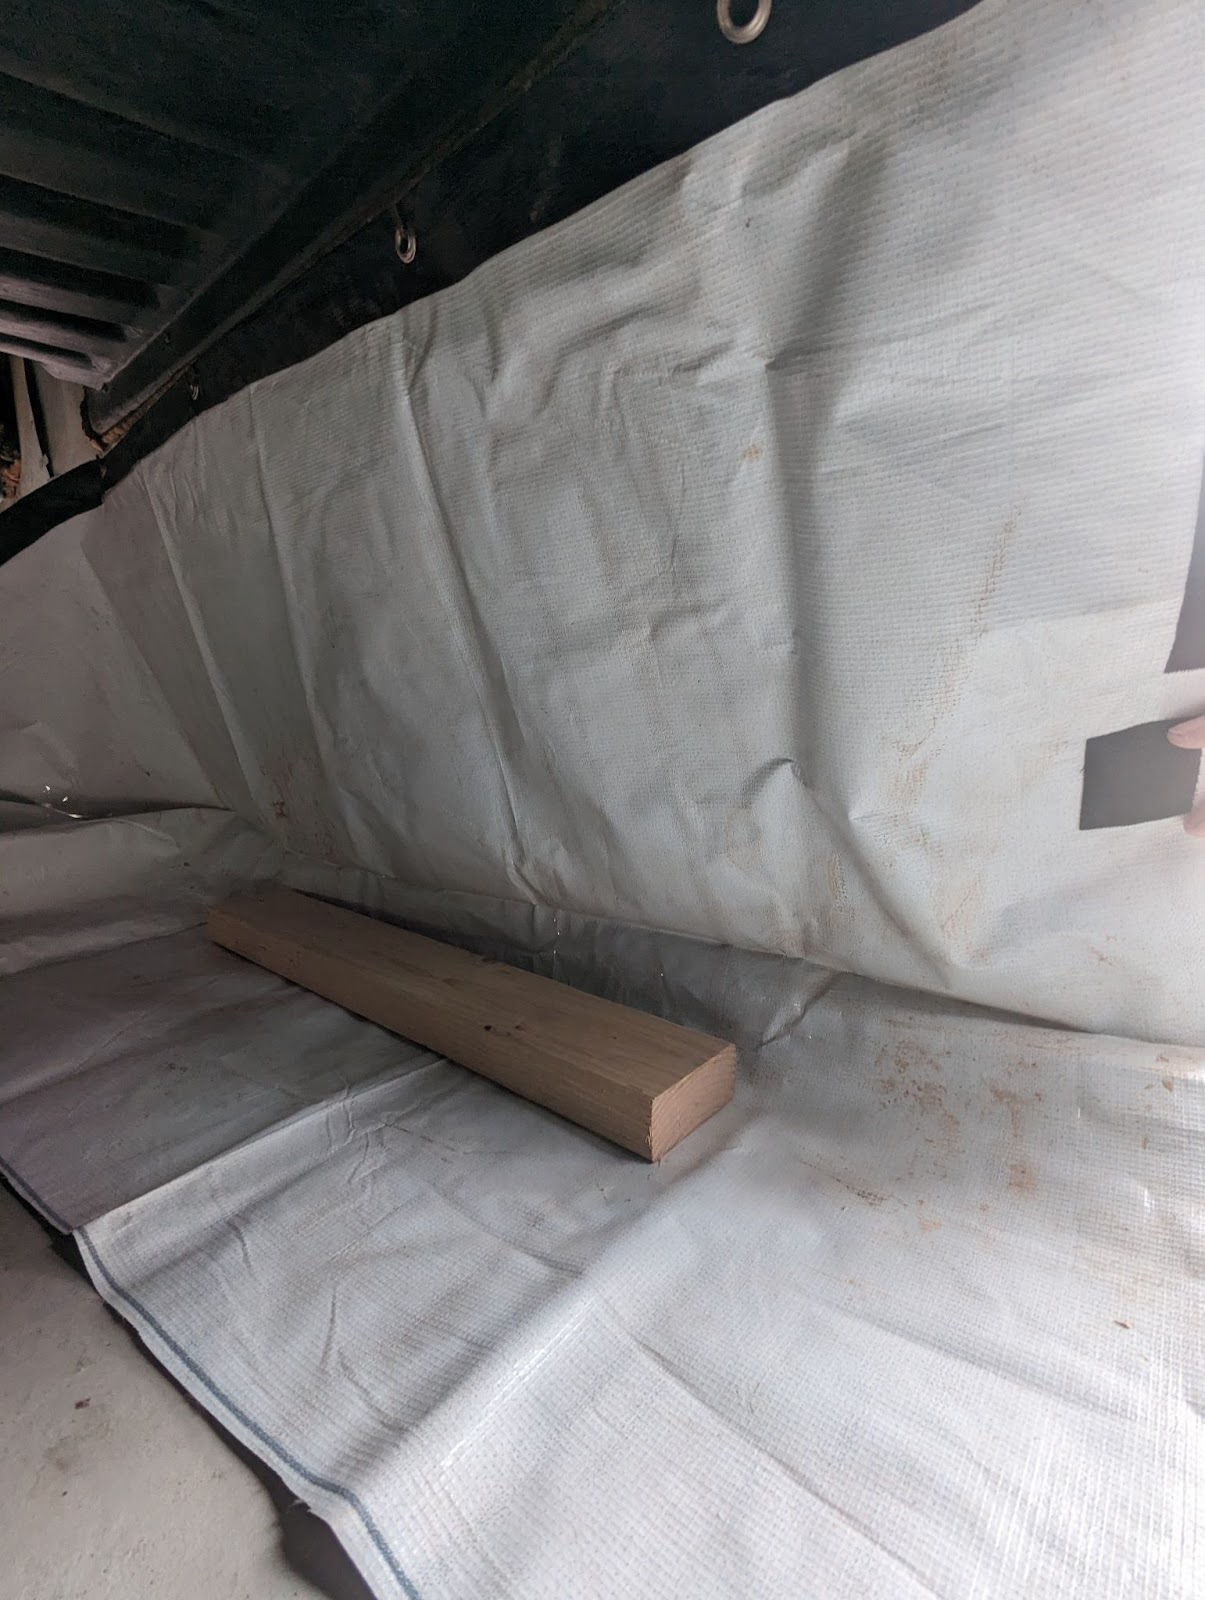
Once you have all your materials, you can cut the billboard according to the plan you made using your grid paper and rectangles. Measure the billboard and start cutting. We used the chalk line to mark where to cut so we had a nice straight line.
Step 5: Start to Install Your Billboard
Instead of measuring and putting all the grommets in at once, Joel and I added grommets as we went. We worked our way from one side to the other adding one grommet and hook at a time. That’s because sometimes on the underside of the RV, you will run into obstructions where you can’t put a hook. When this happens, simply move the hook to a better place.
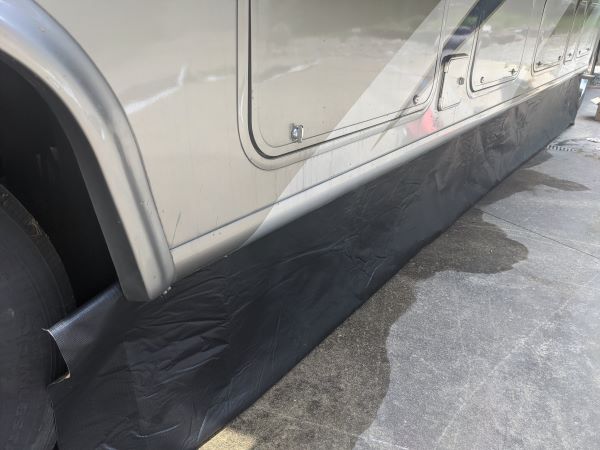
Starting with the driver’s side piece, line the billboard up so one foot of material curves around to the front of the RV. Then go underneath to where the edge of the billboard lines up. This is where the first hook/grommet will go. Clean the inside of the sidewall using soap and a scrubbing bush. After that, dry the spot then wipe the area with a paper towel with rubbing alcohol on it. Once it is completely dry, add the hook.

Continue Working Around the RV Adding Grommets as You Go
Then, fold over approximately 2 inches at the top edge of your billboard. Place a grommet in the folded section so it matches up with the hook. Once the grommet and hook are both in place, hang this part of the skirt on the hook. Then pull the material taut and repeat for the next hook/grommet. Place the hook first and then you can use a sharpie to mark where the next grommet needs to be added. You should space each hook/grommet no more than 2 feet apart.
Each time you add a grommet, place it on the hook so more and more of your skirt goes into place. Repeat until the entire side is done. Then move onto the next piece and repeat these steps. Remember to add the new piece so there is about 1 foot of overlap with the piece already in place. The overlapping sections will share a hook.
Step 6: Make Small Adjustments and Finishing Touches Along the Way
As you go, you may need to cut slits for things like the stairs or you can choose to make two separate pieces that meet up. For campers with generators make sure you cut a hole for the exhaust pipe if you plan to run the generator with the RV skirt on. Don’t let the fabric get too close to the exhaust pipe.
During this task, you’ll spend a lot of time on your back. Joel recommends using a creeper to save your back and make it easier to move around underneath the RV. Skirting can be a lot of work but when you are warm and cozy next time you go cold-weather camping, you’ll be patting yourself on the back! Once all the pieces are in place, add the velcro to the overlapping edges so they will stay together.
Step 7: Label Each Piece
Once you have made all the pieces for your RV skirt, you are almost finished. But before you fold everything up and call it a job well done, there is one thing to do first. On the backside of each piece, write what piece it is. For example front, driver’s side, passenger’s side, and rear. It will save you a lot of hassle when you try to put up your skirt and otherwise can’t figure out exactly where each piece goes.
Step 8: Enjoy a Cozy RV Thanks to your DIY RV Skirting
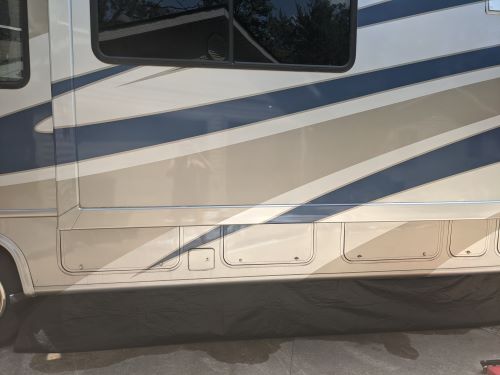
Tada! You did it, you now have an amazing RV skirt that will help you stay much warmer! When you are ready to use your RV skirt, there will be about a foot on the bottom edge to allow you to secure it. If you are on soft ground, you can add extra grommets and stake them into the ground using tent stakes.
Another good option for securing the skirt if you are stationary is to use 2 x4s. If you move around a lot like us, you can often just find rocks at your campsite and put them on the bottom edge of the skirt to stop the wind from blowing it around. For full disclosure, we have lost 2 of the sticky hooks since starting to use our skirt in 2020 but they are cheap and easy to replace.
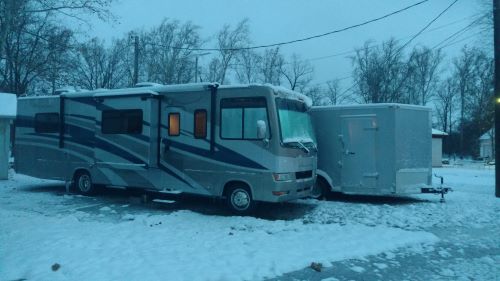
All in all, making an RV skirt from a recycled vinyl billboard is an easy and creative way to give your RV some added warmth. Not only will you save money on compared to buying a professionally made RV skirt, but you’ll also be doing something good for the environment by reusing materials that would otherwise end up in landfills. We have used our RV skirt from Oregon to Colorado to Michigan and several places in between. With a bit of time and effort, you can make your very own RV skirt that is both functional and environmentally friendly so you can travel wherever and whenever you’d like!
Insulation Foam Board DIY RV Skirting For Winter
Many RVers use foam boards to skirt their RVs. This is an especially popular choice for people who will be staying in one location throughout the winter, or at least for an extended period. That’s because installing insulation foam boards as DIY RV skirting for winter is a lot of work.
The main benefits are that foam board is fairly inexpensive and does a solid job of keeping your RV underbelly warm. It is also easy to cut to size and requires few tools for setup. Some RV parks don’t allow foam board insulation, however, since people often consider it unattractive.
Another downside is that foam board insulation is generally used for one season and then thrown out. Over time, the costs can add up and the environmental impact of thousands of RVers throwing out foam board year after year also can’t be overlooked.
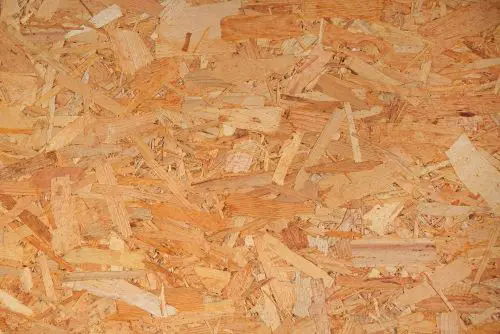
Plywood Skirting
Some RVers also use plywood for their DIY RV skirting for winter. It is not too expensive, although, with the rising costs of lumber, it has definitely become pricier over time. Plywood is also sturdy and won’t blow around as some other skirting materials could.
Using a plywood skirt is best for stationary RVers. For obvious reasons, it is difficult to transport a plywood RV skirt. And if you use it only once before moving, your costs and labor will add up quickly.
Another major drawback is that installing plywood around your RV is a major process. You’ll need tools to cut it to size. It can also be a hassle to attach to your rig. Over time, if you’re stationary, the elements can do a number on exposed wood and it will start to break down.
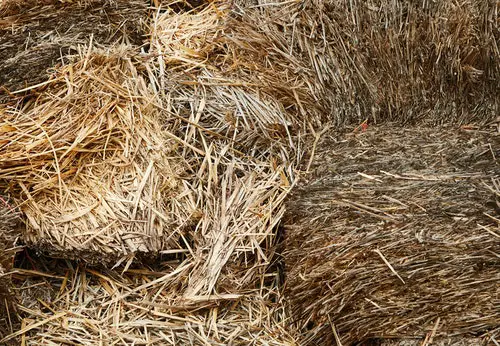
Hay Bales
We’ve probably all seen photos of hay bale DIY RV skirting for winter. The main benefit of using hay bales is that they provide superior insulation. However, there are a number of drawbacks that should probably make you steer clear of them.
First, hay bales can actually spontaneously combust and start your RV on fire. Although the likelihood of this happening probably isn’t incredibly high, it still seems like a major risk. Especially when you consider all the other skirting options on the market.
Another drawback to hay bales is critters. You’re just asking for mice and other pests to make themselves at home in your RV. If you want to keep mice out of your RV, avoid the hay bales.
Professional Skirting For RVs
If you’ve got some extra money to spend and you want something that works a little better or looks a little nicer, there are professional skirting options. These options provide a great seal to lock in air. They also make your RV look much classier. In fact, there are some RV parks out there that won’t allow DIY RV skirting for winter.
Here are some of the popular professional choices on the market.
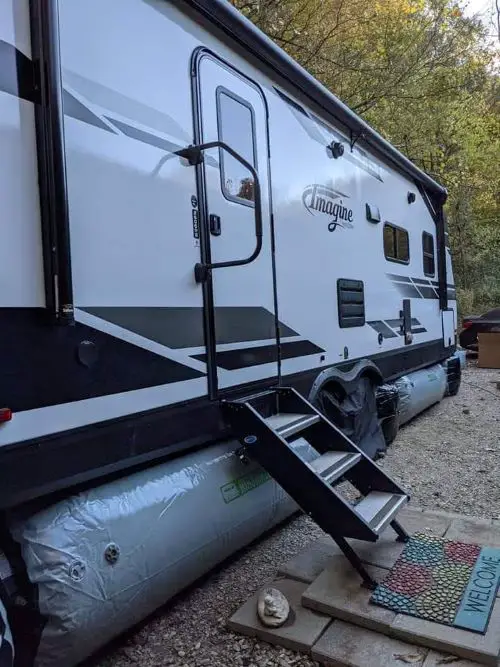
Air Skirts
AirSkirts are a bit newer to the RV skirting scene. They are basically inflatable tubes that go on the underside of your RV to lock in air. AirSkirts offer different sizes based on your RVs length and ground clearance, so be sure to pick the right kit.
They don’t require any hardware like snaps, hooks, or drilling holes in your RV. According to the website, AirSkirts can be setup in under 30 minutes. However, based on reports from actual users in the Cool RV Stuff Facebook Group, the first time, at least, typically takes around an hour or so.
The major downside with AirSkirts is that they are very costly. They will last a long time, but the upfront hit could be enough to turn some RVers away.
Custom Skirting
There are many custom RV skirting companies on the market. You may even be able to find someone local to you. One popular choice for RVers looking for an easy-to-use, high-end product is Custom Skirting, LLC.
Custom Skirting, LLC is based out of South Dakota with its own RV park in the Black Hills. They travel throughout the Dakotas, Iowa, Nebraska, Kansas, Wyoming, and Colorado, depending on where they have multiple jobs booked for custom installations. Alternatively, you can stay for free at their RV park while they install your custom skirting.
Since each individual RV is measured you get a perfect fit for your rig. They install an aluminum channel on the side of your RV which prevents gaps that allow air through. It also makes the setup much simpler than having to use multiple hooks or snaps.
The major downside of custom skirting from any company is the cost. These custom skirts look fantastic but expect to pay much more.
So Which DIY RV Skirting for Winter is Best?
If finances aren’t a consideration, professional RV skirting options are probably the way to go. However, for the rest of us, there are a handful of DIY RV skirting for winter options that can get the job done. Regardless of what you choose, remember to properly winterize your RV by adding a heat source under your rig, using a heated hose or heat tape for your RV water hose, and so on.
DIY RV skirts for winter aren’t magic, but paired with other winter RV essentials can go a long way towards keeping you warm and keeping your rig intact all winter long.