Do you live in an extremely frigid place or just don’t feel confident using an air compressor to winterize your RV? This article is for you. Here is everything you need to do to winterize your RV using antifreeze.
Why Winterize Your RV Using Antifreeze?
For some people, the thought of winterizing your RV with an air compressor is intimidating. After all, if you mess something up and leave water in your lines, there could be expensive damage.
Another reason to winterize your RV using antifreeze is for extremely cold climates. If you have subfreezing or even subzero temperatures for weeks on end, only blowing out your lines might not be enough. Even a small amount of water left in the lines can expand and cause damage.
If you want some extra confidence that your winterization is without fail, using antifreeze is the way to go. Unlike using an air compressor, you’ll have to de-winterize when you’re ready to take the rig out in the spring or summer. It involves some extra legwork, which is why some people choose the air compressor method.
Ready to winterize your RV using antifreeze? Read on for the step-by-step guide.
How to Winterize Your RV Using Antifreeze
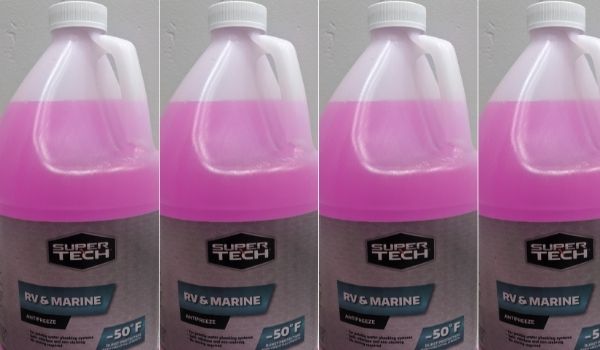
The first thing you need to do is purchase at least 2-3 gallons of antifreeze. The larger your rig, the more antifreeze you’ll need. If you’re purchasing antifreeze from the store, you’ll want to buy the antifreeze labeled for RV or marine. It is usually pink.
Once you have your antifreeze in hand, it’s time to get your RV ready for winter. Here’s what you need to do.
- Drain the water heater. It is best to allow adequate time for the water to cool before completing this step. That way, you won’t accidentally burn yourself.
- Flip the water heater bypass valves to prevent antifreeze from going into the hot water tank.
- If you have any fresh water in your tanks, open the low point valve and make sure the tank is empty. Otherwise you’ll have diluted antifreeze in your lines which won’t be as effective.
- Dump a few gallons of antifreeze into your freshwater tank.
- Turn on your RV water pump and run each faucet one by one until pink antifreeze comes out. Remember to do this for every faucet, including hot and cold water, the toilet, the shower, everything. If you have any outdoor faucets, put a bucket under the faucet and run those, too. (The bucket will prevent antifreeze from draining onto the ground so you can dispose of it properly by dumping it down a drain in your home).
It’s Easy to Winterize Your RV Using Antifreeze
That’s it! There are only a few simple steps and your RV is set to go for winter. If you don’t want the hassle of de-winterizing, you might consider using an air compressor to winterize your RV. This is best for people in milder climates.