Raise your hand if you have a portable ice maker in your RV. Although there will always be naysayers who say you don’t need an RV ice maker, you know the truth. Your ice maker is synonymous with an enjoyable camping trip.
The trouble is, ice makers, like any appliance, need a little TLC to work their best. Here are some tips to keep your ice maker working like new. Be sure to follow any manufacturer recommendations to clean a portable ice maker to ensure you don’t inadvertently damage your product.
1 Know When to Clean Your Ice Maker
Some portable ice makers are reportedly self-cleaning. Even so, you may need to clean a portable ice maker manually every few months.
If your ice is appearing cloudy or smaller than normal or has a strange taste or smell, it is probably time to bust out the cleaning supplies. Other signs you might need to clean your portable ice maker are if you see visible signs that it is dirty or has limescale.
Most portable ice makers have soft ice. However, if you notice that it is softer than usual, this can be another sign that a deep clean is in order.
As for the ice scoop, clean it after every use just like you would every other utensil. Just for good measure.

2 Clean Your Portable Ice Maker At Least Every 3-6 Months
One simple way to keep your RV ice maker working like new is to simply clean it. The trouble is, that some RVers don’t know how to clean their ice maker. So instead they just… don’t. However, this can lead to bacteria or limescale buildup (ew). It can also cause your ice maker to die on you, leading to a bummer of a camping trip. Lukewarm beverages, anyone?
Luckily, cleaning your ice maker is simple. According to compact appliance maker, Edgestar, there are some simple steps to clean most portable ice makers. When cleaning any kind of appliance, it is important to follow the manufacturer’s specific guidelines in your instruction manual. Some ice makers are different and it would be a bummer to cause a problem because you forgot to read the directions on your specific machine.
Here are some general steps to follow.
Steps to Clean a Portable Ice Maker Exterior
- Before cleaning your portable ice maker, unplug it to prevent injury.
- Remove the ice basket from your ice maker.
- Use a mild soap or diluted cleaning solution and warm water to wipe out the basket.
- Avoid using abrasive materials like scrubbing pads.
- Wipe down the exterior surfaces with warm water, a mild cleaner, and a washcloth.
- Do not submerge your ice maker in water.

How to Clean a Portable Ice Maker Interior
- Remove the basket and dump out any unused ice.
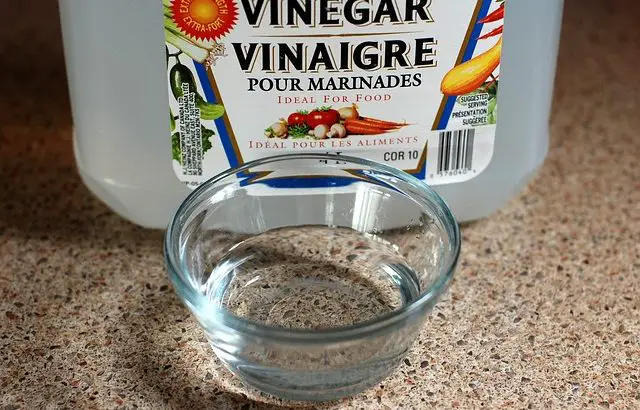
- Clean your ice maker by adding a cleaning solution to the water reservoir. There are a few choices for cleaning. You can use a commercial product such as Affresh Ice Maker Cleaner. If you prefer to avoid chemicals, don’t worry. Edgestar says you can also use a 1:10 ratio of white vinegar or lemon juice to water mixture.
- Run your ice maker using the solution in the reservoir. Some ice makers have a cleaning cycle. If yours does you can use that. If you don’t have a cleaning cycle, make at least 2 batches of ice using the cleaning solution. DO NOT USE THIS ICE. Simply discard it after it is made.
- After at least 2 cycles, dump out any remaining cleaning solution.
- Remove the ice maker’s water line and rinse thoroughly to clean out any solution.
- Follow your portable ice maker instructions to run your ice maker using fresh water for several batches. Discard each of these batches to ensure it rinses all the cleaning solution out.
- Drain any remaining water.
- If you plan to use your ice maker right away, add new fresh water to the reservoir. If not, wipe your ice maker dry and store in a safe place.
3 Use Filtered Water in Your Ice Maker
Another way to keep your ice maker working like new is to only use filtered water in it. Now, this doesn’t mean you need to buy bottles of water to pour into your ice maker. There are many RV water filter options on the market. If you use one of these filters, you decrease the chances of getting bacteria or sediment into your ice maker. Using a water filter will also keep you safer, so it’s a win-win. You never know what could be in your water (or ice) otherwise.
Side note, check out this nugget ice maker. Many RVers love the nugget ice for their drinks. For a long time, the GE Profile Opal was the only reliable option but cost over $500. This alternative is still spendy but it costs less and actually has better ratings on Amazon.

Enjoy Your Ice-Cold Beverages
Once you have learned to clean a portable ice maker, you can enjoy your ice-cold beverages without fear. No need to worry about having nasty, dirty ice. Regular cleaning and maintenance will also help your ice maker work longer so you don’t have to fork over the money to buy a new one.