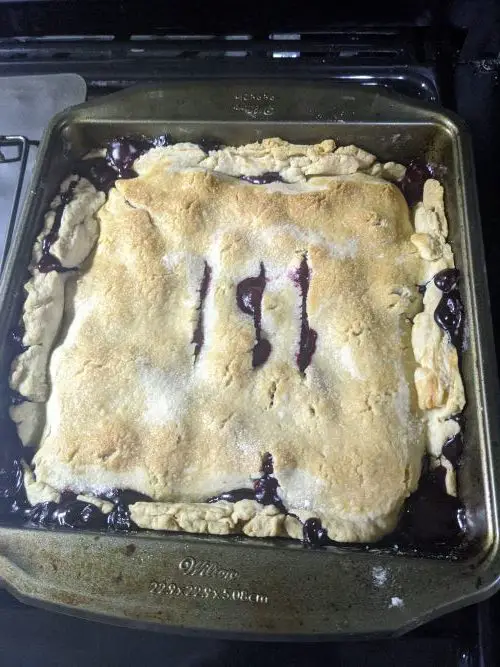
If you want to know how to bake in the RV oven, you’ve come to the right place. Baking in an RV oven is no simple feat. Few things are more frustrating than scorching your tasty meal. Sure you could cook outside, but sometimes you just want some fresh baked goods, dangit.
If you’ve tried baking in your RV before, chances are you have experienced some frustration. The bottom of your food might be burned to a crisp, while the top is not even cooked all the way. What’s up with that? Here are 10 simple steps you can take to make baking a more appetizing experience.

How to Bake in the RV Oven
1. Use an oven thermometer. I know there is a thermometer on your RV oven, but chances are it is less than accurate. Having an external thermometer will help you gauge just how hot your RV oven really is. This super cheap gadget is definitely a game-changer for RVers.
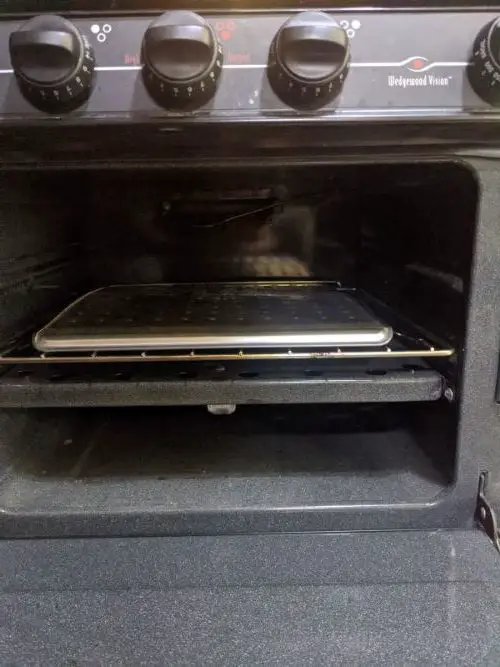
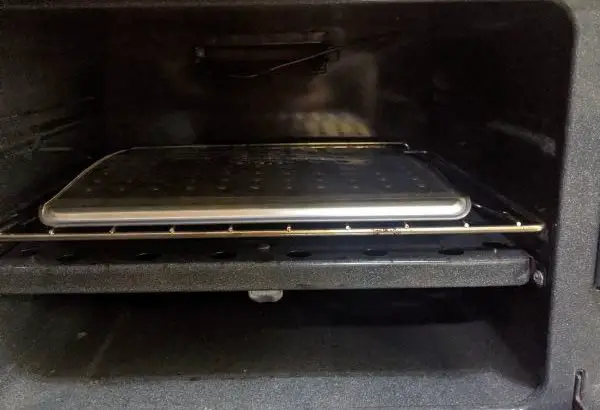
2. Put a pizza stone in your RV oven. Using a pizza stone helps disperse the heat. This can help reduce the scorched on the bottom, uncooked on the top issue. Make sure you measure your oven and get a small enough stone before purchasing. Simply place the pizza stone on the very bottom of your oven and wallah, your food won’t burn.
3. Try airbake pans. Airbake pans are another solid tip for how to bake in the RV oven. You can use them to cook your food. Another tip is to place an additional airbake pan upside down between the rack and the pan you are actually baking on. Flipping the extra pan upside down adds a bit more distance between the bottom of your food and the flame.

4. Reduce the heat and cook for longer. Baking in the RV oven may be more art than science. It certainly takes some getting used to. One easy way to prevent your food from burning is by cooking things low and slow. Low temperatures and longer baking times can help.
5. Flip your food halfway through. Flipping won’t work for everything. For foods like biscuits or meat flipping helps cook things all the way through.
6. Rotate the pan halfway through. If you can’t flip your food (or even if you can) rotating your pan halfway through the baking time can sometimes help. Rotating helps everything cook more evenly front to back and side to side. It won’t help as much with food that gets burned on the bottom.
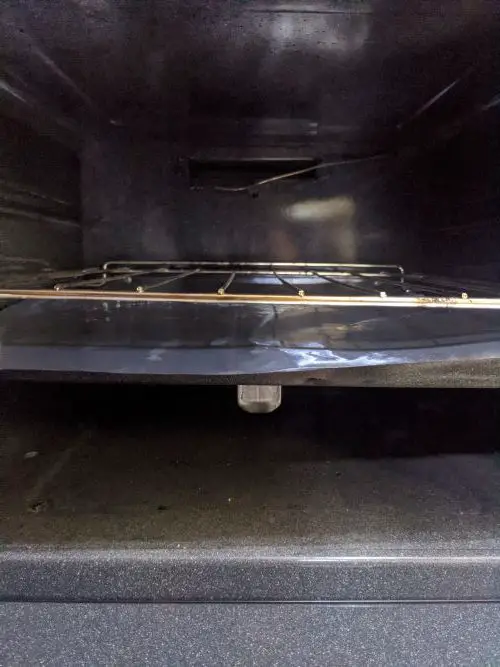
7. Place tinfoil between the rack and the heating element. I haven’t tried this one myself, but some RVers swear by it. Just add some tinfoil between the heating element and the rack and bake away.

8. Preheat your RV oven. RV oven may seem to heat up quite quickly. It might be tempting to just throw your food in and turn the oven on. However, this strategy is usually a recipe for disaster. Although it takes extra time, preheating will help your baking game. The RV oven doesn’t have a handy dandy preheat button, so you’ll need to pay attention to it to know when it is hot. This is a perfect example of why having an oven thermometer is so helpful.
9. Raise your oven rack. If you have an adjustable RV oven rack, consider raising it. Having the rack further from the flame will mean you’re less likely to burn the bottom of everything you cook.
10. Add stoneware tiles to your oven. If the pizza stone doesn’t work out or you want a cheaper solution, here it is. You can pick up unglazed stoneware ceramic tiles at many home improvement stores. Like the pizza stone, they distribute the heat for a more even cook.
If all else fails, try baking another way. Baking in an RV oven is definitely tough. However, RVers, including you, are a creative bunch. Next time you’re craving some baked goods you can try an air fryer, a toaster oven, or even a grill. In fact, some people even bake cinnamon rolls on their Blackstone griddles. How cool is that?
Experienced bakers, any more tips to share about how to bake in an RV oven?


